Custom & OEM
Built to a brief, not picked from a shelf.
Material, size, colour, closure, lining and logo finish are specified per project. What follows is the range of decisions you actually make, and where each one changes the outcome.
Fabric first
The material decides everything after it.
Fabric sets what the pouch protects, how it photographs and which decoration methods are open. Choose it before artwork, not after.
Cotton, twill & canvas
Best for: Retail, promotional, reusable bagsCarries load and holds structure, and takes screen print and embroidery cleanly. This is the range where branding is most visible — confirm the usable print area before finalising artwork.
Linen, jute & burlap
Best for: Bakery, gifting, natural-look retailVisible weave and an understated natural finish. Embroidery and woven labels work with that texture better than fine screen printing, which breaks up on an open weave.
Decoration
Six methods, each with a trade-off.
Fine foil line work sinks into a deep pile. Thin embroidery lettering closes up as the stitches pull together. Fine screen printing breaks up on an open weave. These are the limits worth knowing before artwork is finalised.
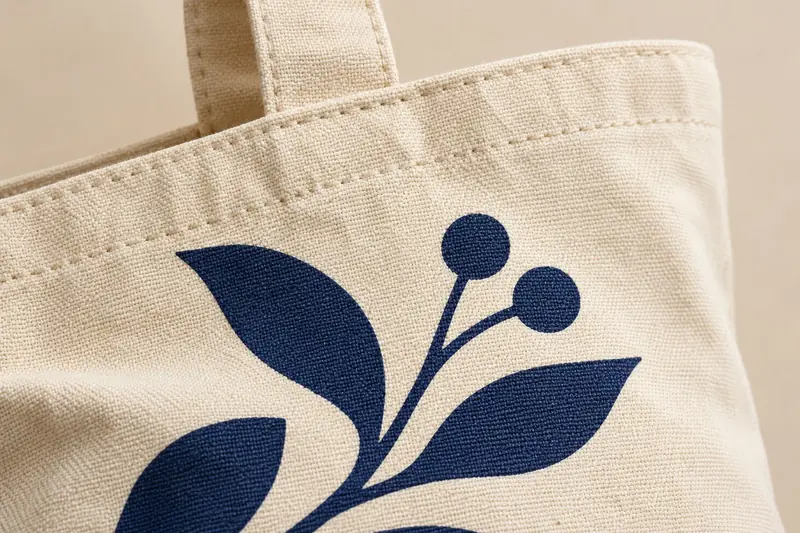
Silk screen
Best on: Cotton · Canvas · Twill · Velvet
Spot-colour printing with solid, opaque coverage. The lowest unit cost once the screens exist, which makes it the default for larger runs in one or two colours.
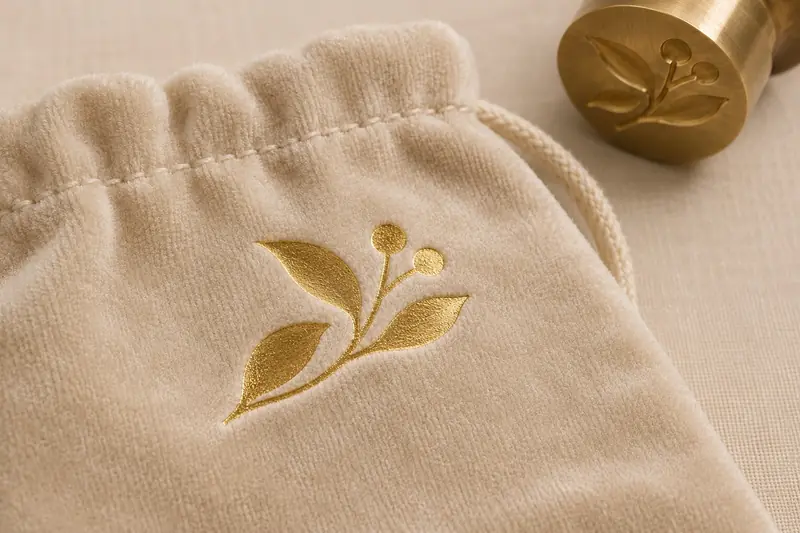
Foil / hot stamping
Best on: Velvet · Suede · PU leather
Gold, silver or coloured foil pressed into the surface. Very fine line work can sink into a deep pile, so approve the smallest element of your mark on a stamped sample rather than on screen.
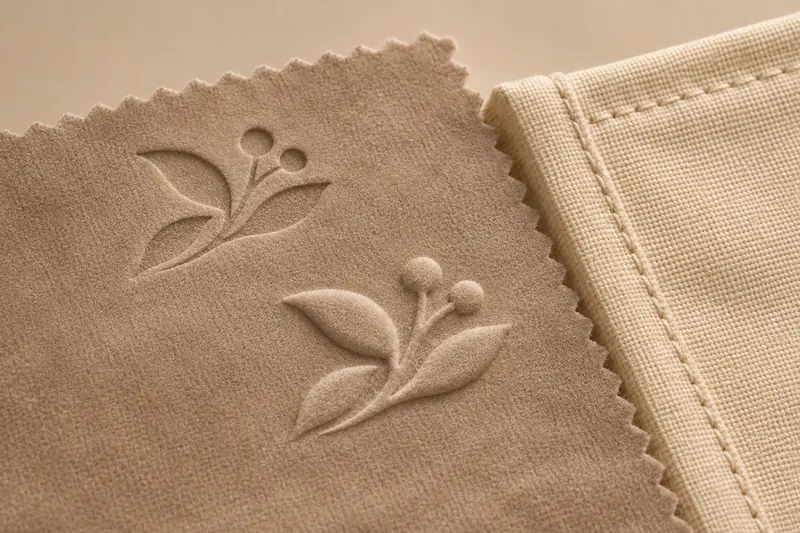
Debossing & embossing
Best on: Microfiber suede · PU leather
The mark is pressed in with no ink and no foil, so it reads only as texture and shadow. Understated by nature — the wrong call if the logo has to be legible at a distance.
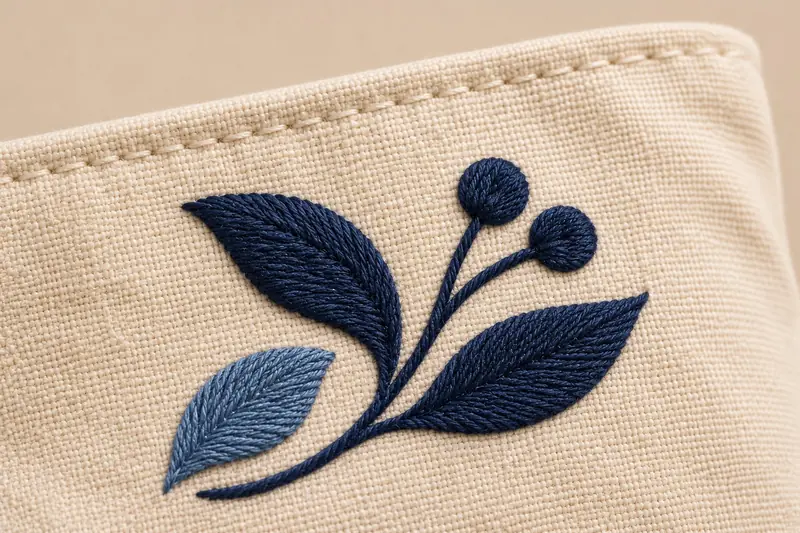
Embroidery
Best on: Cotton canvas · Linen · Heavy twill
Stitched thread gives the logo physical relief you can feel through the fabric, and it survives washing better than any print. Thin typefaces close up as the stitches pull together.
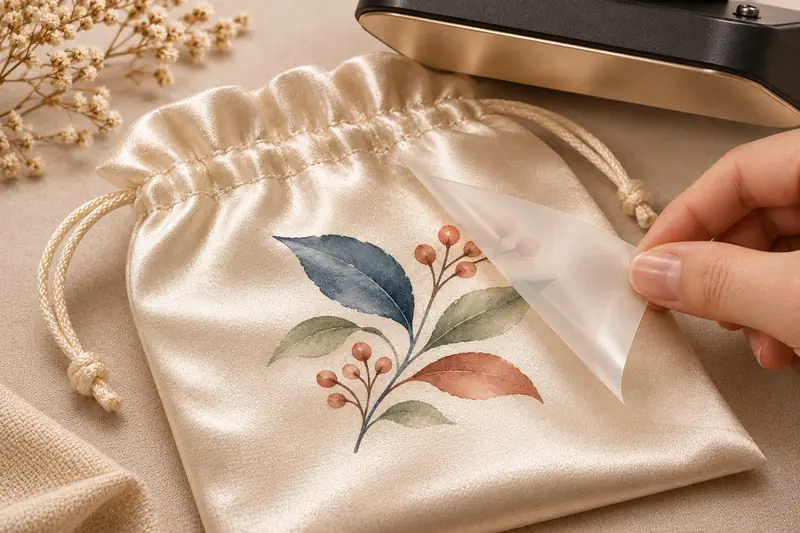
Heat transfer
Best on: Satin · Microfiber · Coated fabrics
Handles gradients, multi-colour marks and photographic artwork that screen printing cannot reproduce, with no screen set-up per colour.
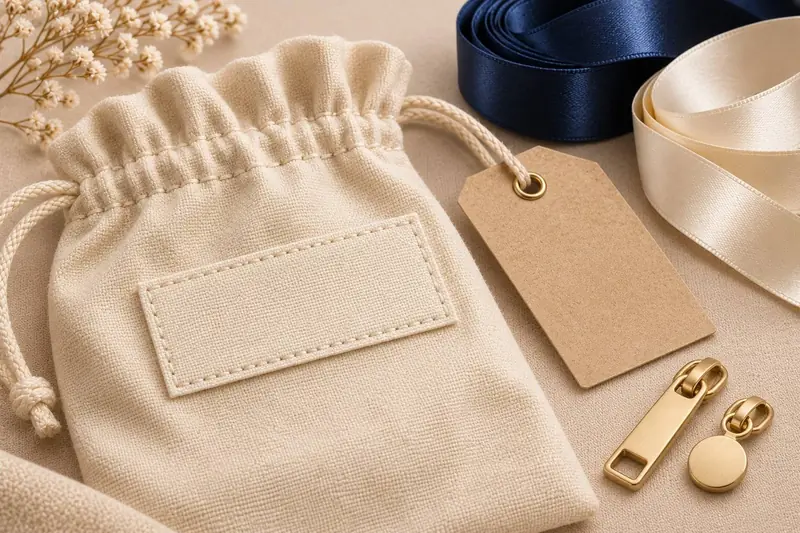
Woven labels & trims
Best on: Any fabric
Woven brand labels, printed hang tags, satin ribbons, custom zipper pulls and branded cartons. This is where a pouch stops looking like stock packaging.
Development sequence
Five stages, four approvals.
Each stage produces something you can reject before the next one costs money.
01
Inquiry
Share the format, dimensions, material, quantity, artwork and target delivery date. No finished artwork yet? A reference photo and your product dimensions are enough to start.
02
Mock-up & quote
You get a proposed construction, a decoration method suited to the fabric you chose, and a tiered quotation — so options can be compared before anything is spent on sampling.
03
Sample approval
Material, finished dimensions, construction and logo placement are signed off on a physical sample. Everything after this point is checked against that sample.
04
Production
Fabric lots are logged before cutting, print position and stitching are checked as the order moves through the eight lines, with photo updates as it goes.
05
Inspection & shipping
Finished units are inspected against the approved sample before packing. Packing method, carton marks and the documents your route needs are agreed before the shipment leaves.
Start your project
Turn your brief into a factory quote.
Tell us the product, material, dimensions, quantity and logo finish. Those details are what construction, sampling and pricing are discussed from — a shorter message just costs a round trip.
- A construction proposal and a tiered quote, not a price list
- Sample approved before any bulk production starts
- Artwork reviewed for the fabric you have chosen
- NDA signed on request, files kept confidential